All Resources
In order to start using the API, you should activate the API service for your Organization.
Follow the below steps to activate the API Service:

The API service is free for the first 2 months so that you can test the service, develop your custom application and ensure that using API works well for your use case.
After activating the API, you should create an Access Key. Click the + icon on the page to proceed.

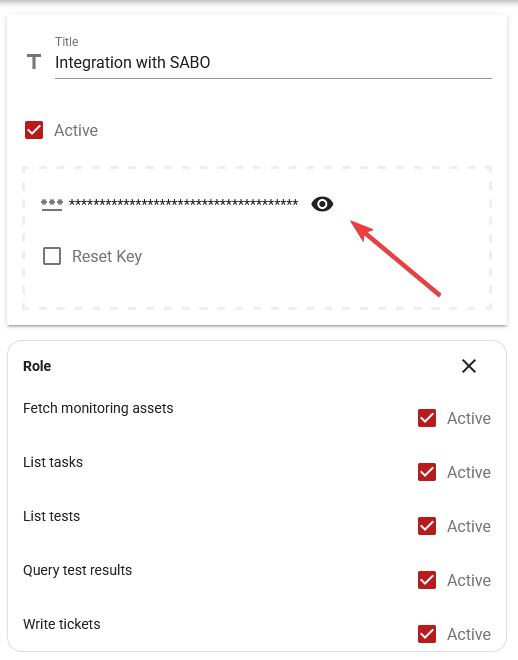
You can create one or multiple Access Keys. Each Access Key is automatically assigned a Private Key and, you can assign one or more Access Roles to these keys. You can give different teams in your company their own keys, and manage their access and roles separately.
Please find below the Access Roles and their coverage
| Role | Definition |
| Fetch monitoring assets | can fetch the photos and videos recorded during test sessions |
| List tasks | can fetch the list of Tasks |
| List tests | can fetch the list of Tests |
| Query test results | can fetch the Test results |
| Write tickets | can create new Tickets for a Task |
After creating an Access Key, please open the Access Key editor, reveal and write down the Private Key associated with the Access Key.
